Many people require screen recording for professional purposes, such as gamers, programmers, website owners. But then some people need screen recording for personal purposes. For example, let’s say students join an online lecture or enter a webinar.
It is not wise to spend a lot of money on screen recording tools in such circumstances. So then comes the question, how to screen record on android without an app?
In this guide, we will help you to screen record on your android with the default app.
Therefore, without further ado, let’s dive in.
This part is specifically for Samsung and LG devices. These androids have a Quick Setting option for this purpose. It works as a built-in android screen recorder. However, note that this option is available in android ten devices of Samsung and LG.
You can record your screen following these few steps:
Swipe down from the top of your screen and tap the Quick Settings option.
Choose "Screen Recorder" from the displayed options. Then, you can swipe again to expand the screen and get a clear view of the options to choose from.
You will see more options if you swipe left.
On your screen, you will see a counter. When you tap on it, it will start capturing your screen.
Samsung phones ask permission first before they start recording audio and video. Then, you can choose your phone's built-in microphone if you want to record audio as well.
ADB Command is a great default screen recording tool. You can follow these steps to screen record through it:
Before using ADB, you need to install the Google Platform Tools Files. This will be a zipped file.
To extract the zip file, use a desktop. It will make locating the folder easier.
If you are using a Windows device, open the Command Prompt. However, open the terminal if you are a macOS or Linux, device user. You will see the Command Line Tool opened. Type in cd.
Press the spacebar and add space. After that, from your desktop, drag the Platform-Tools folder to the Command Prompt window (if you are a Windows user) or the Terminal window (if you are a macOS or Linux user).
Now the location will be auto-populated. To ensure that, press the Enter key; if you see it's redirecting the command-line tool, it means it is operating in the same folder as the ADB commands file.
The next step is to debug the USB. To do that, you need to connect your phone to your computer.
Go to your phone's "About Phone" section and click on "Settings." After that, tap on "Build number' and display the "Developer Options."
In this step, you will enable your recorder to start recording. First, send Command to your device to allow your recorder screen recording. Next, long-press the power button and go to the "Power menu." After that, long-press the screenshot button. You will see a menu appearing with the "Start Recording" button.
When you click on the "Recording button," a pop-up menu will appear that will seek your permission to start screen recording. As soon as you tick the box, you will see another pop-up menu with the option "Start Now." If you are ready, start recording by clicking on that option.
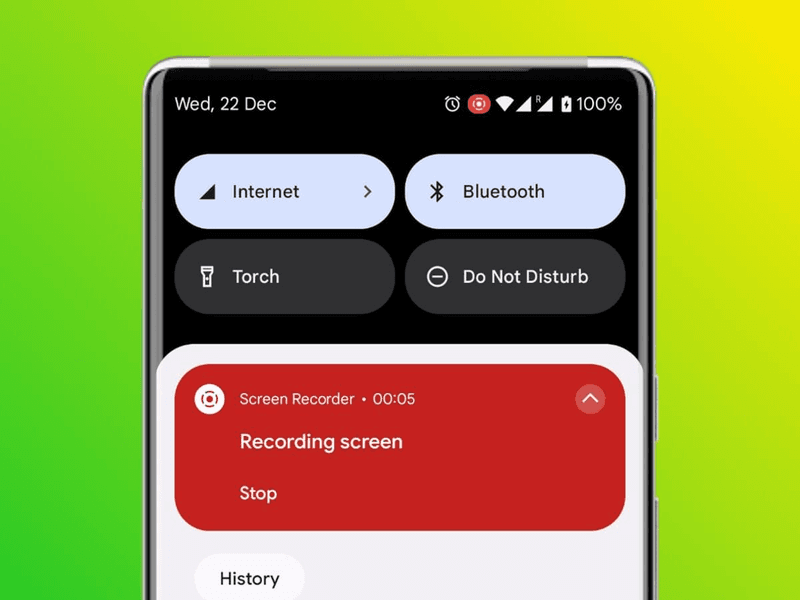
On your screen, you will see a Screen Recording title. There you will see different options for Pause, Stop, and Cancel. You can use the options according to your needs.
The right tool and the right way will help you screen record on your android more efficiently. However, keep the following things checked while screen recording-
Prepare an outline before capturing your screen. This makes the process easier and faster. Because you have the process set in your mind. Hence, you don't need to take a long pause while screen recording your android.

The environment of your screen recording plays a crucial role in the quality of your video. For example, if there is a lot of background noise, the audience will not hear the instructions in the video.
There will always be mishaps in the first recording. Hence, you have to practice a lot to get top-notch videos. Therefore, we recommend doing one or two takes before the final recording.
Lengthy videos are dull and lose the attention of the viewers. Therefore, choose an appropriate length for your video. It helps to engage your audience with you.
If the video is too long, make it a two or three-part. If there is a repetition of particular processes, cut those down while editing.
While including audio on your screen recording. Check the quality of your audio. Screen recording with lousy audio quality will result in losing the audience. Hence, make sure that the audio quality is top-notch. Then, you can use HD audio in your recordings.
It would help if you locked your screen while screen recording. Many people make a common mistake while screen recording, making the videos look unprofessional. Moreover, it can stop your screen recording or change the resolution.
Whether you want your recording in portrait mode or landscape mode, make sure to keep your "Screen Rotation" feature locked.
Your device should have enough storage space to run the video smoothly. This is a very crucial thing you should check before every screen recording. Otherwise, all your hard work will be ruined, and you will have to do it all over again.
While recording your screen, you must turn the "Do Not Disturb Mode" on. Because, when you are recording on your android, if you receive notifications or call, they can snatch your audience's focus. Besides, it is unprofessional as well.
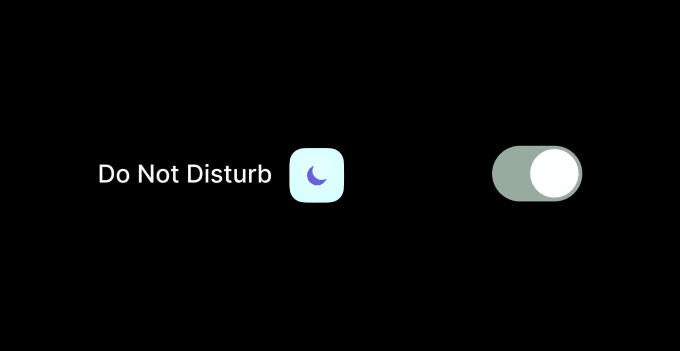
To turn on this mode, pull down your notification panel on your phone and swipe left until you see that option. Click to enable it.
Screen recording consumes a lot of charge on your phone. You don't want your phone dead amid the screen recording, right? So to avoid that, close the tabs that you don't need while screen recording. The best is to conduct the whole thing with a full charge.
Last but not least, always take permission before you screen record your video calls or meetings. There are strict laws against recording video calls without someone's approval in several countries.
Therefore, make sure that people in the call or meeting are aware and agree to your decision of screen-recording. If you want to show the tape to an audience, ask the other party to sign a release or consent form.
Having a screen recorder on hand is a huge time saver. To begin with, why would you feel the need to do something like that? A screen recorder can be used for various purposes, some of which are listed below.
This is the most common use of a screen recorder. Imagine you want to show someone how to edit a video or an image, or perhaps you want to teach someone how to enable some functions on their phone. How would you do that if they were living far away from you? Through screen recording
You can’t explain technical factors solely with words. Visuals are a great help in these scenarios. Therefore, screen recording will save you time and demonstrate the process efficiently.
Besides, you can use it to record any brief portion of a movie scene you want to show to your friends. That’s easier than searching for it on YouTube and sending them the link.
It’s not uncommon for us to face bugs while using an app or a website. So how will you show it to the developer? The easiest method is through screen recording.
When you record the whole process, the developer will quickly understand the root of the problem and give you an instant solution.
The pandemic has made everything virtual, from online classes to office meetings. While it can be monotonous sometimes, it has some pros as well. For example, you can record lectures or meetings for future reference. Even if you cannot participate right now, you can watch the video later and take notes as needed.
This is another everyday use of screen recording. For gamers, this is the most fantastic feature. Gamers show different tricks of gaming to the world through screen recording.
If you are a gamer, show the world the tricks up your sleeves and be the next big gaming YouTuber.
Once your phone’s OS gets an Android 11 update, then you can use the phone's default screen recorder app for screen recording. You will not need any separate apps for that. However, note that all Androids will not get this update.
Note: Backing up your phone’s data is a wise choice so that even if something goes wrong while updating, all of your data is secured. Besides, use wifi instead of mobile data because updating the OS requires a lot of data.
If your Android’s OS version is below 11, let’s say, 10,9,6, or 7, your Android will receive an Android 11 update in no time. So keep an eye on your phone’s software update. If your phone is not compatible with the Android 11 update, then you will need to install a 3rd party app on your phone.
Whether it is recording gameplay or making a tutorial, you can do a lot with your android’s default screen recorder. However, if you don’t have a built-in screen recorder, you can always take help from VideoSends!
VideoSends is an excellent screen recording software for both personal and professional use. As a result, you may collaborate with your team members no matter where they are in the world. In addition, the interface is simple to use, so your teammates will be able to grasp it immediately.
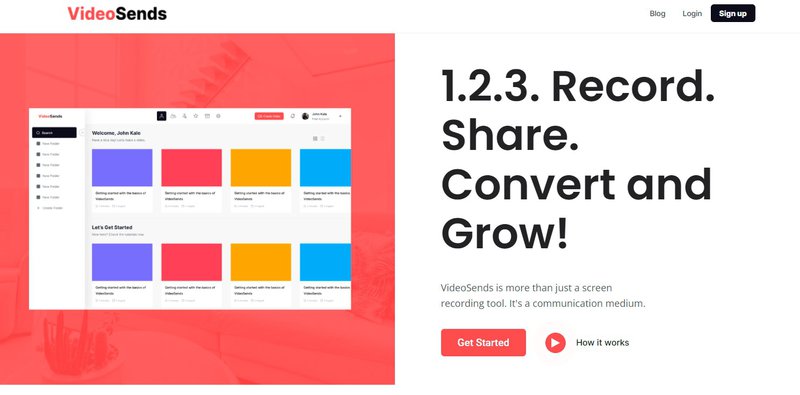
The software also allows you to stream live. Because of this, your audience has the opportunity to converse directly with you.
Getting through the editing stage is a cinch. Apart from that, you'll be able to distribute edited videos straight from the program allowing you to build an engaging audience base in no time!
So what are you waiting for? Subscribe to VideoSends today and experience screen recording like never before!