Screen Recording or Video Recording tools are software built to capture anything and everything on your screen. And over the years, this tool has been on the rise within the digital marketing world, be it for creating tutorials online, a short demo for sales email, or even for simply recording meetings and interviews. Why? Because videos make everything simpler to comprehend.
Videos help businesses get your message across to their customers and employees and retain consumer attention and interest like no other. And this is what makes videos the next best thing. 68% of marketers think video has a higher Return Of Investment than Google Ads. And Screen Recording tools have played a large part in all of this.
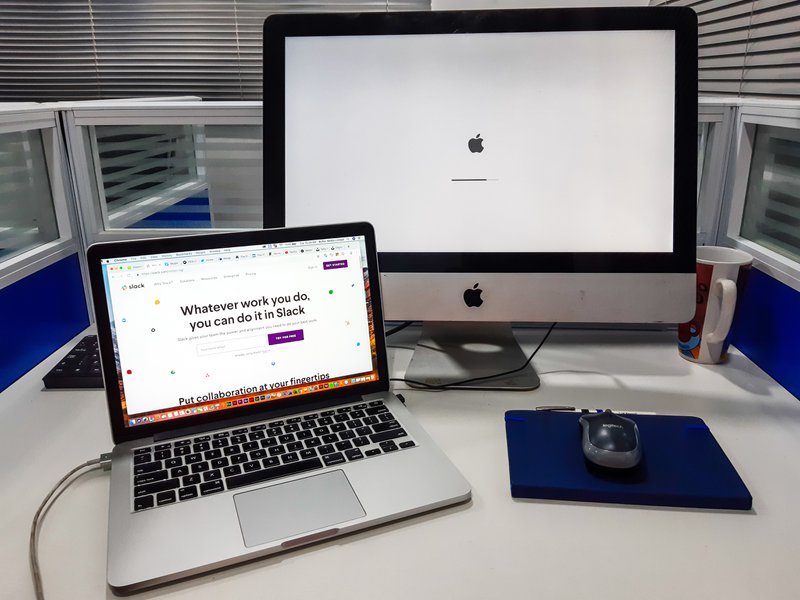
With everything going online in the past few years, the scope expanded, and so did the market for Screen Recording tools. Thus, we provide a range of tools to choose from for our video marketing needs. Today, Screen Recording tools are the way to go for all your "How To" videos.
However, capturing the screen is not enough sometimes with video marketing. So, when it comes down to incorporating different elements, such as a webcam with your screen capture video, complications start adding up. And to anyone new to using screen recording tools, this entire process can quickly become confusing. But not to worry, because this is where we come in.
In this article, we will be covering the following aspects:
Apart from the built-in tools that come with Windows and Mac, there are other intuitive apps available in the market that you can opt for to incorporate the webcam with your screen recording.
Let us start with one of the most convenient applications to use, VideoSends. Now, I may sound biased, but the software's features speak for themselves. The name VideoSends itself is pretty self-explanatory is a software tool that allows you to integrate your camera with your screen record.
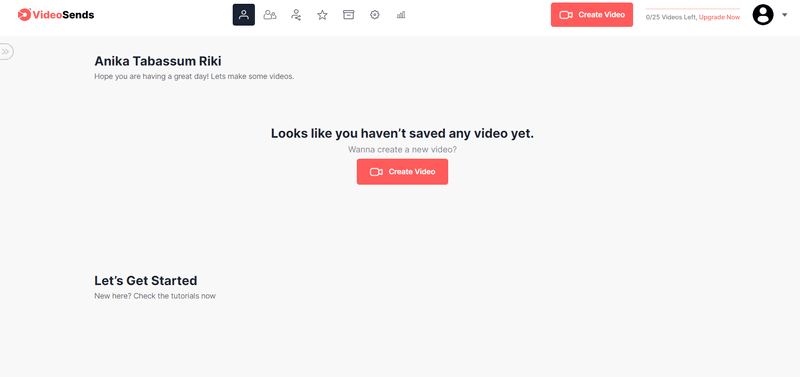
As someone who has used VideoSends, this app certainly lives up to its claims. Its easy-to-use user base and accessibility on a range of devices provide you with the flexibility to create videos with little to no complexities. Not just that, with VideoSends, you get to keep all your files in one place, edit them, share them with your team, keep track of their feedback based on video performance.
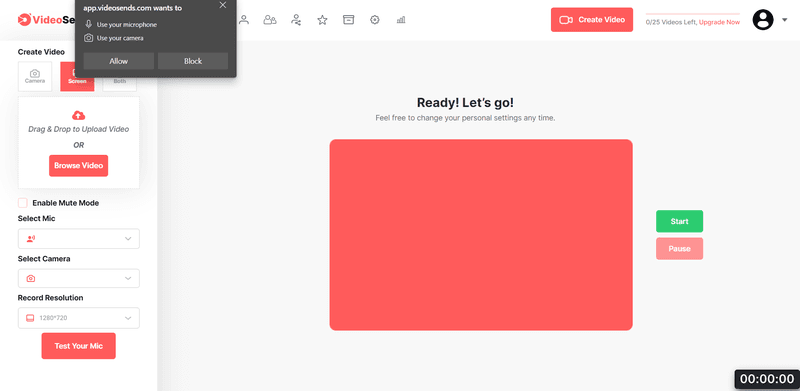
To get started with the application, you need to sign-up first. Then click on Create Video shown in the middle or top left corner of the website.
After that, go to the settings on the left corner of the screen and click on the Camera icon. From here, you can adjust the video configurations to your likings, such as the microphone and the resolution.
Next, do the same after clicking on the Screen icon.
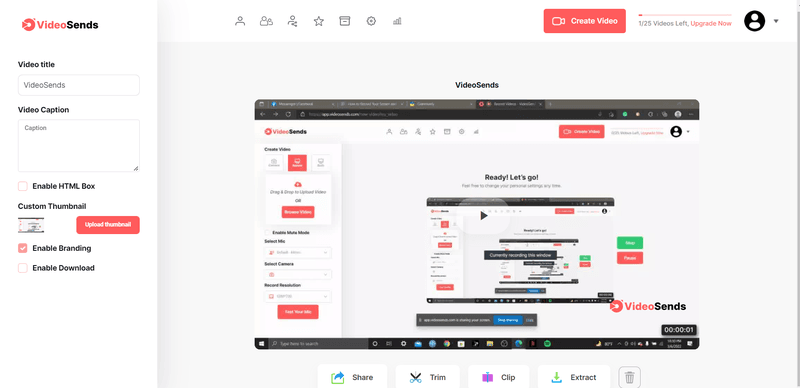
Moving on, once you click on the icon Both, the website will ask you to download the Chrome extension. So, to create a video using both your camera and screen, you need to download the attachment.
Once you do that, you can click on start video, select the screen, and VideoSends will start creating your video.
With VideoSends, saving the video comes easy since all you have to do is click on Stop's icon. Then a new window will pop up from where you can directly edit your videos, name them, save them in a designated file chamber, and share them with your team.
Open Broadcaster Software, better known as OBS Studio, is one of the most versatile tools on this list: appropriate for anyone needing to record their meetings and classes or create tutorials and demos online. This software program not only works on both Windows and Mac but allows you to record both your screen, microphone, and camera simultaneously.
To get started with OBS, you need to download the executable file on your device from the browser first. And once you have installed the program, you need to launch it, which is where all the complexities start.
If you are using a relatively new Windows or Mac device, it may lack some runtime components required to operate OBS. In that case, you will have to enable the software to download the files first to get started with the app installation process. So, once you download and install those files, you can get started with the launch process. And if your device already has all the executable files needed, you can get started straight away.
First things first, you need to adjust all the configurations based on your usage and needs, for instance, if you are going to use it for recording or streaming purposes, the resolutions, and such. Then click on "Apply Setting" to start the"OBS Studio in your customized format.
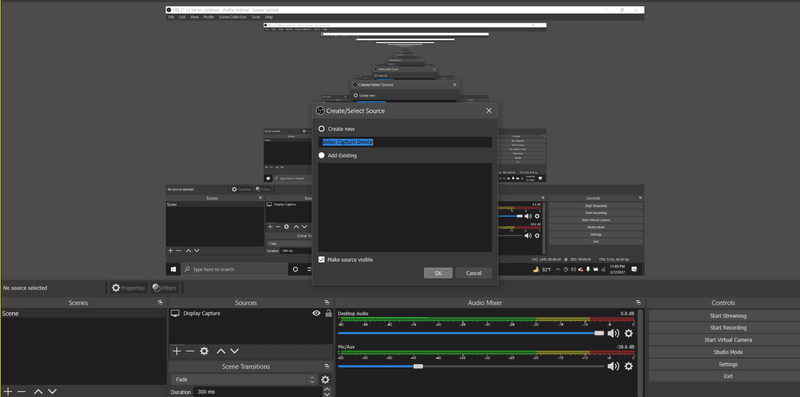
To start recording the video, you need to click on the Sources section and add Display Capture to record your screen and Video Capture Device to incorporate your webcam.
From here, a default setting will show up, which you would need to accept.
You can even go to the Output option from settings and readjust the streaming, recording, and audio configurations to your liking.
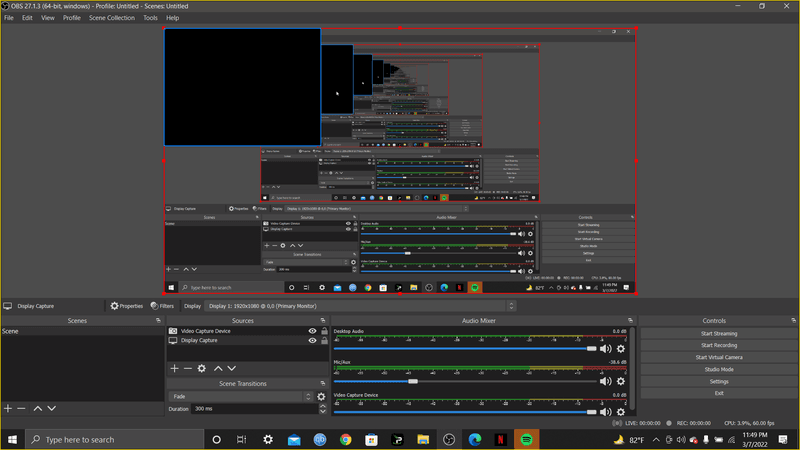
Afterwards, all you have to do is click on Start Recording under the Controls option to start recording your video.
And once your video gets created, you can end the video by clicking on Stop Video and saving the file on your desktop.
CloudApp is a Video Recording tool that allows both cloud-based and local components to work side by side to create a platform for teams to share their ideas, create personalized HD videos, and communicate better. With its built-in tools, CloudApp allows you to create videos and communicate with your colleagues or friends on various devices, including Mac and Windows.
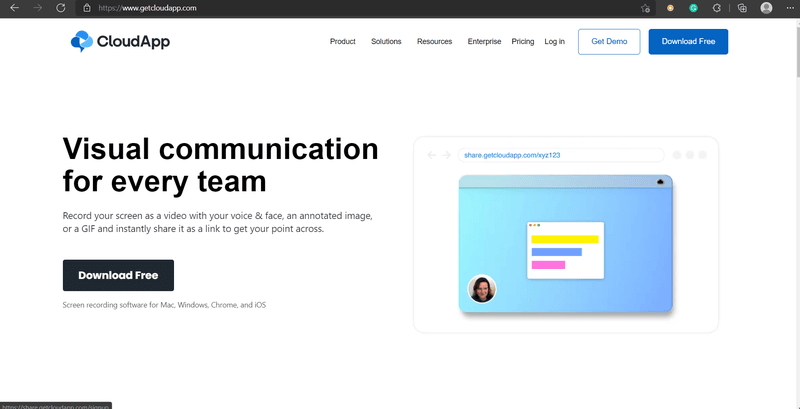
You need to download to get started with CloudApp on Mac or Windows. Then, install the application on your device from your browser.
Next, you need to launch the app by clicking on the CloudApp icon on your sidebar. Then the app will open up a new window to see the Camera icon on the top left corner.
From here, click on the icon and click and drag the screen to adjust the area of your monitor that you want to capture using CloudApp.
Moving on, to incorporate your webcam, click on the camera icon and modify the specifications. And fix the camera screen on any part of the desktop to your liking, simultaneously.
Later on, all you need to do is click Start to start the recording and Finish to end the recording.
Zoom has skyrocketed its popularity as a cloud-based video teleconferencing software tool in recent years, and for a good reason. This application allows you to video conference with anyone at any time, record your calls, and share your screens all at the same time. Being a generally free-of-charge tool and available on both Mac and Windows, this app is the safest option to go for to record your meetings and classes seamlessly.
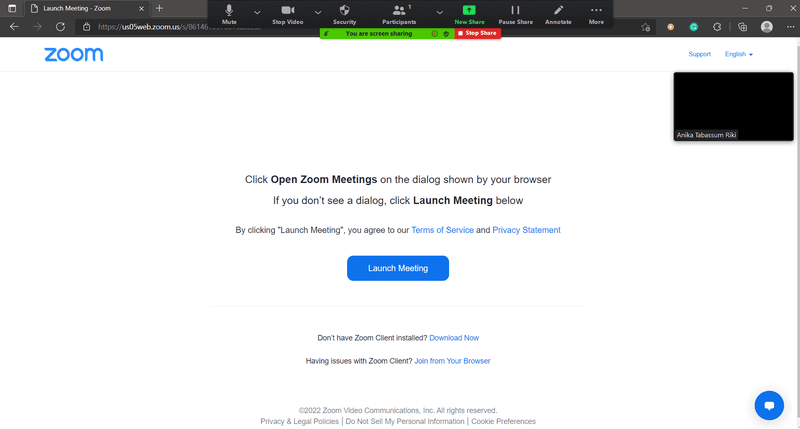
To get started with Zoom, you need to download the application to your browser. Next, launch the app on your device and create an account.
Once the application is running on your device, click on the button down below the icon New Meeting, where you will see an option named "Start with Video". Next, you need to click on that. And what this will do is open up your webcam on your device to record you during the screen capture.
Afterwards, you need to click on the icon New Meeting now to start a video or meeting, which will cause a new window to open and ask for your permission to access the audio. Now, depending on your preference and needs, you may want to adjust the microphone configurations or leave it as default. Thus, the application will start recording you.
To incorporate your screen recording with the video, you need to share your screen. And to do that, click on the icon named Share Screen at the bottom of the screen.
Next, adjust the screen or select the tab you want to record and start capturing the video by clicking on the Record button.
Once you are pleased with the recording, you can stop the process by clicking on End and then "Convert Meeting Recording" to save the file.
Bandicam, famous for its gaming recording features and high-quality videos, is a screen recorder software for Windows. It allows its users to capture anything and everything that appears on the screen, including the camera, and helps retain the high-compression ratio of the screen.
To get started, you need to first download and install the app on a compatible device and then launch the installed product.
Once the app gets created, you can click on the Webcam icon available at the top sidebar of the screen. Thus, this will start a new window, and you can configure the settings to your liking.
From there, click on the option called "Add Webcam Overlay t" video." this will ensure" that your camera does not get blocked by other applications running on the screen.
After that, all you have to do is select the Record button, and Bandicam will start recording your screen and your camera altogether.
If you want to stop the recording, click on the Stop Button and form the editing part.
QuickTime Player is a free multimedia plugin exclusive for all Mac devices that allow users to record, create and edit videos using the Camera and the Screen altogether and much more. So if you are a Windows user, this tool will not be compatible with your device.
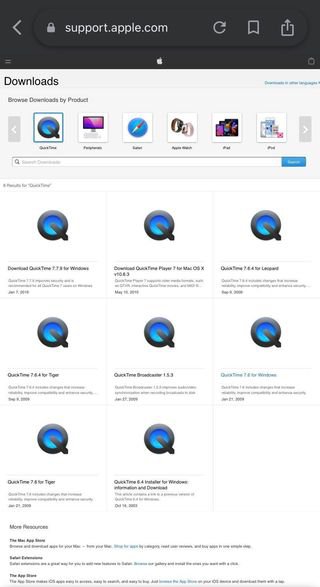
To get started with QuickTime Player, go ahead and launch the app from the application folder and then once it gets started, click on the icon named file. From there, you need to select the option New Movie Recording.
Next, click on the View icon on the menu bar and select the Float on Top option from there. This way, you can ensure that your camera shows up on top of all windows tabs and does not get blocked by other applications running on the screen.
And once you are ready, click on the New Screen recording option from the File icon and click on the Record button.
From here, QuickTime Player will start recording both your screen and your webcam.
And if you want to stop the recording, click on the default buttons Command+Control+Esc or press the black stop button on the menu bar.
Lastly, there are many tools available in the market apart from those listed here that can deliver similar services to you and work even better for your device. However, your job is to understand what works best based on your preferences and needs as a video creator.
That said, VideoSends is a great tool to get started with and get acquainted with creating high-quality videos. With VideoSends, you not only get a platform to store your unlimited amount of videos and edit them but share your work with your team in real-time. Thus, this not only enhances your experience but makes the process even more seamless.
So why are you waiting? Get started now!